
In this tutorial, we’ll walk through setting up basic user registration and login functionality in a Laravel API. This assumes you’re already familiar with Laravel’s basics and have set up your project.
User Registration
To get started with user registration, we’ll set up a controller that handles the registration logic.
1. Create the RegisterController
Run the following Artisan command to generate the RegisterController:
php artisan make:controller Authentication/RegisterControllerThis will create a RegisterController.php file inside the app/Http/Controllers/Authentication folder. Inside this controller, we’ll create a method that validates the user’s input and registers them.
2. Implement the Registration Logic
Edit the RegisterController to look like this:
<?php

namespace App\Http\Controllers\Authentication;

use App\Http\Controllers\Controller;
use App\Models\User;
use Illuminate\Http\JsonResponse;
use Illuminate\Http\Request;
use Illuminate\Support\Facades\Validator;

class RegisterController extends Controller
{
    public function registerUser(Request $request): JsonResponse
    {
        $validator = Validator::make($request->all(), [
            'name' => 'required|string|max:100',
            'email' => 'required|string|email|max:255|unique:users',
            'password' => 'required|string|min:8|confirmed',
        ]);

        if ($validator->fails()) {
            return response()->json([
                'status' => 'error',
                'errors' => $validator->errors()
            ], 422);
        }

        $name = $request->name;
        $email = $request->email;
        $password = $request->password;


        if (User::checkUserExists($email)) {
            return response()->json([
                'status' => 'error',
                'errors' => 'User already exists'
            ], 400);
        }

        $user = User::registerUser($name, $email, $password);

        if ($user) {
            return response()->json([
                'status' => 'success',
            ], 200);
        } else {
            return response()->json([
                'status' => 'error',
                'error' => 'Internal error! Please try again later'
            ], 400);
        }
    }
}
Here’s what’s happening:
- Validation: We validate the incoming request to ensure all fields are correct.
- Check for Existing User: We verify if the email already exists in the database.
- User Creation: If validation passes and the user doesn’t exist, we create the user.
3. Update the User Model
In your User model, add the following methods to check if a user exists and to register a new user:
public static function checkUserExists($email): bool
    {
        return self::where('email', $email)->exists();
    }

    public static function registerUser($name, $email, $password)
    {
        return self::create([
           'name' => $name,
            'email' => $email,
            'password' => Hash::make($password)
        ]);
    }
4. Set up Routes
Now, we’ll add a route for registration in routes/api.php:
Route::post('registerUser', [RegisterController::class, 'registerUser']);5. Testing Registration
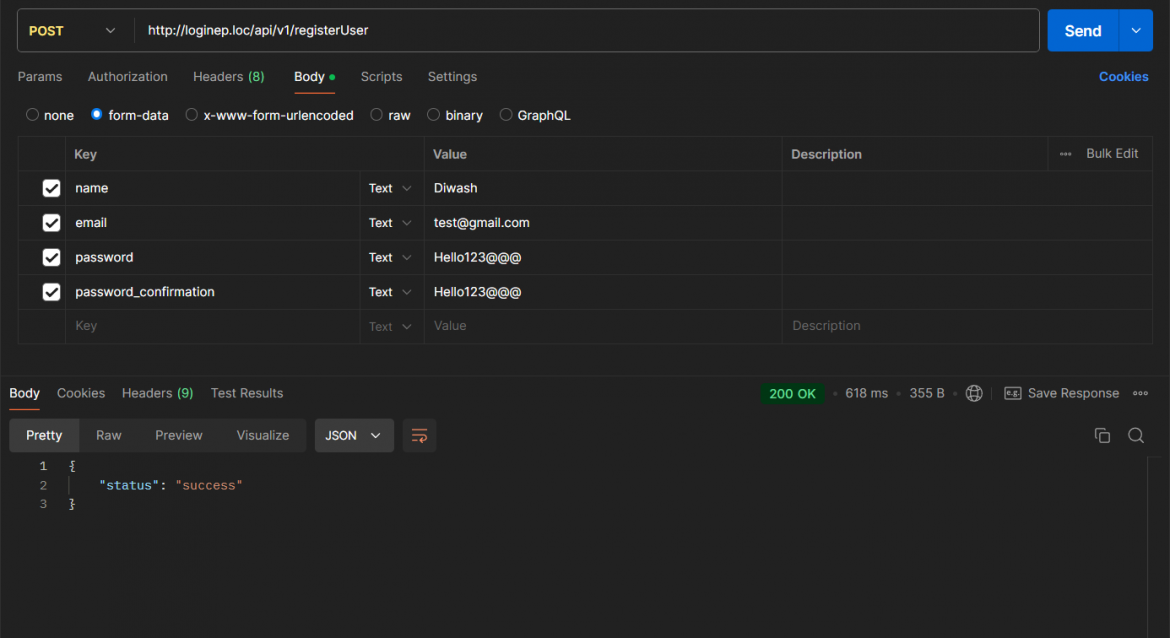
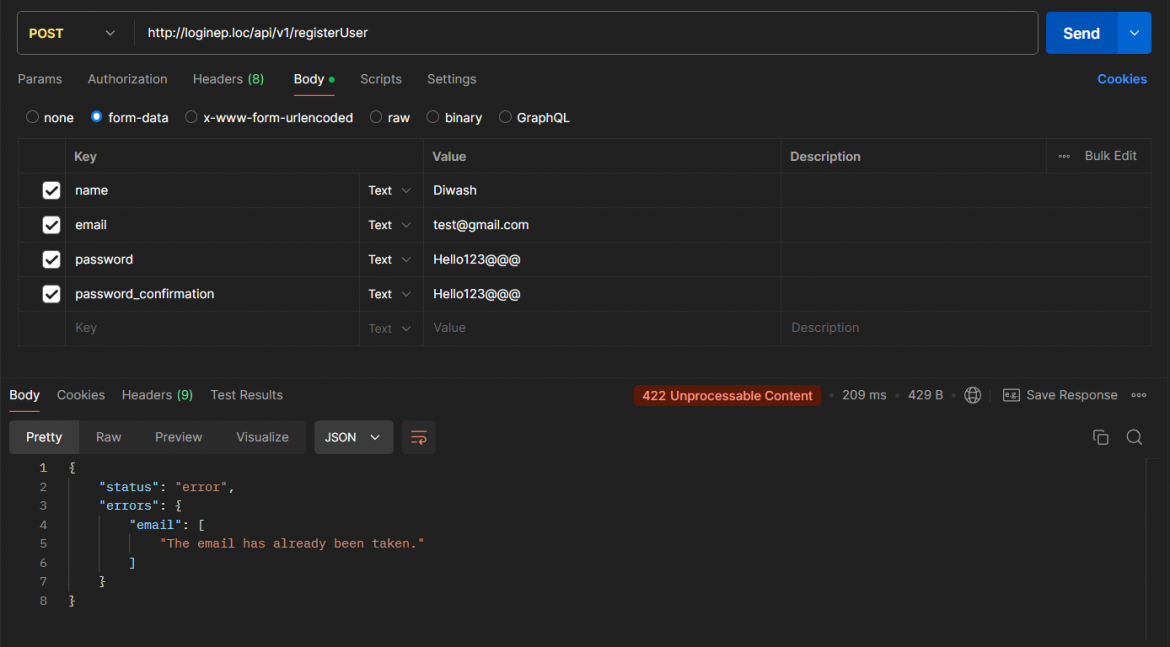
Using Postman (or any API client), make a POST request to the /registerUser endpoint. Ensure to provide valid input (e.g., name, email, password, and password_confirmation). If successful, the user will be registered, and if an error occurs (e.g., user exists or invalid input), you’ll receive an appropriate error message.
User Login
Now that we have registration working, let’s set up the login functionality.
1. Create the LoginController
Run the following command to create a LoginController:
php artisan make:controller Authentication/LoginController2. Implement the Login Logic
Open LoginController.php and add the following code:
<?php

namespace App\Http\Controllers\Authentication;

use App\Http\Controllers\Controller;
use App\Models\User;
use Illuminate\Http\JsonResponse;
use Illuminate\Http\Request;
use Illuminate\Support\Facades\Auth;
use Illuminate\Support\Facades\Validator;
use Ramsey\Uuid\Exception\TimeSourceException;

class LoginController extends Controller
{
    public function loginUser(Request $request): JsonResponse
    {

        $validator = Validator::make($request->all(), [
            'email' => 'required|email',
            'password' => 'required|min:8',
        ]);

        if ($validator->fails()) {
            return response()->json([
                'status' => 'error',
                'error' => $validator->messages()
            ], 422);
        }

        $credentials = [
            'email' => $request->input('email'),
            'password' => $request->input('password')
        ];

        if (Auth::attempt($credentials)) {
            $user = Auth::user();
            return response()->json([
                'status' => 'success',
                'user' => $user
            ], 200);
        } else {
            return response()->json([
                'status' => 'error',
                'error' => 'Invalid credentials'
            ], 400);
        }

    }
}
Validation: Similar to registration, we validate the user’s email and password.
Login Attempt: We use Auth::attempt() to authenticate the user using their credentials. If successful, we return the user’s information; if not, we return an error.
3. Set up Routes for Login
In routes/api.php, add the login route:
Route::post('loginUser', [LoginController::class, 'loginUser']);4. Testing Login
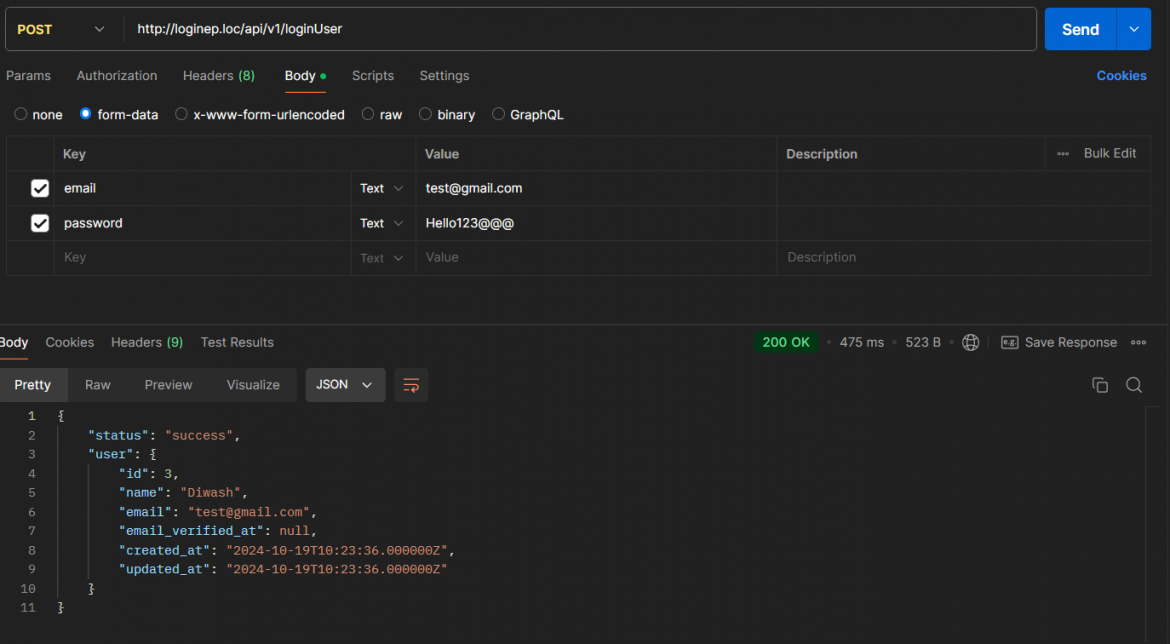
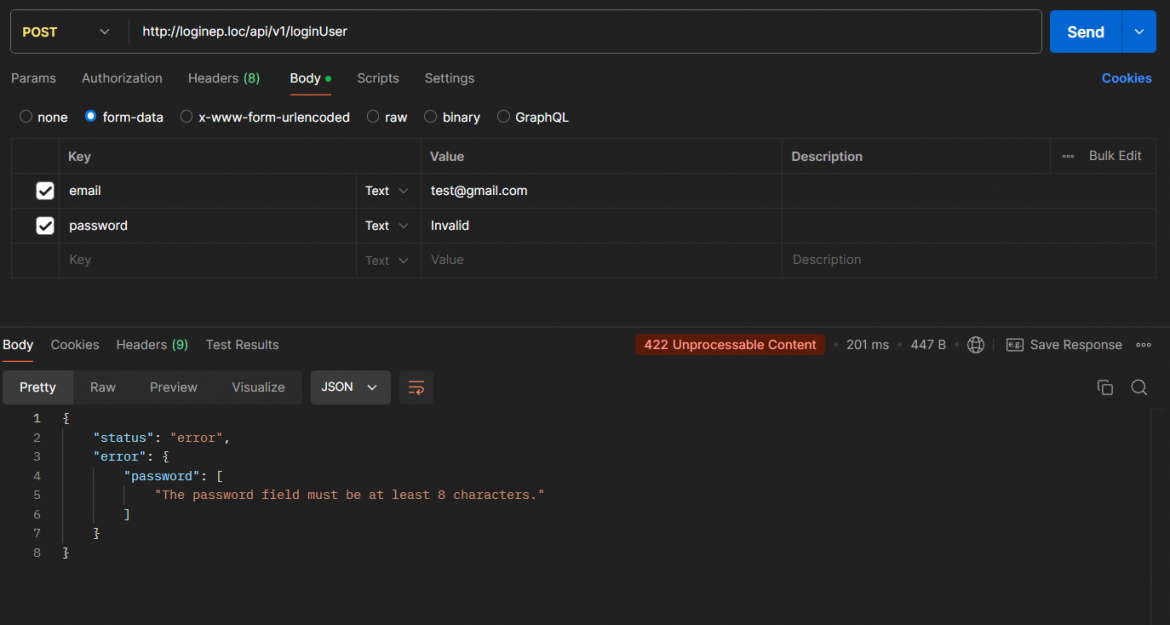
To test the login functionality, use Postman to send a POST request to /loginUser. Provide the email and password fields. If valid credentials are provided, the user will be logged in, and their data will be returned. If invalid, an error message will be displayed.
Conclusion
In just a few steps, we’ve set up basic user registration and login functionality in a Laravel API. These features form the foundation of a user authentication system and can be expanded with additional security measures, such as JWT for token-based authentication, password reset functionality, or even third-party logins (e.g., Google, Facebook).